Mac OSX Lesson 3 - Create and Organize Folders and Documents, Copy, Cut, Paste, Delete Files, use Trash
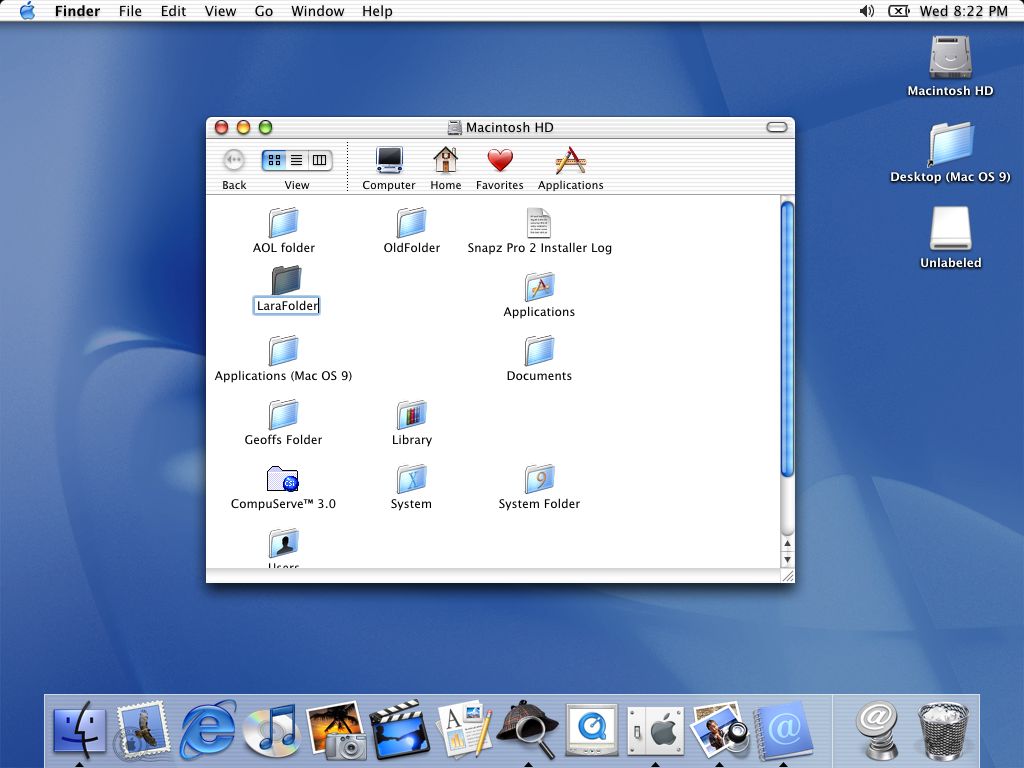
To create a new folder we have opened Macintosh HD, then gone to the File menu and selected New Folder.

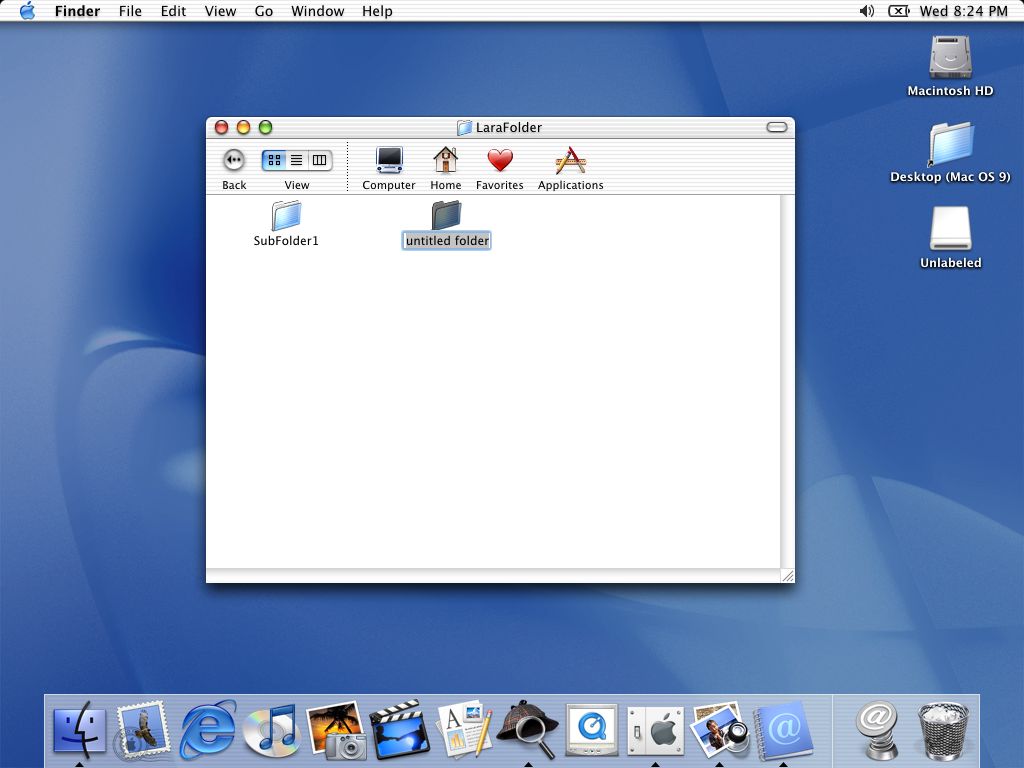
Then we changed the default folder name to one we wanted (in this instance we named it "LaraFolder")
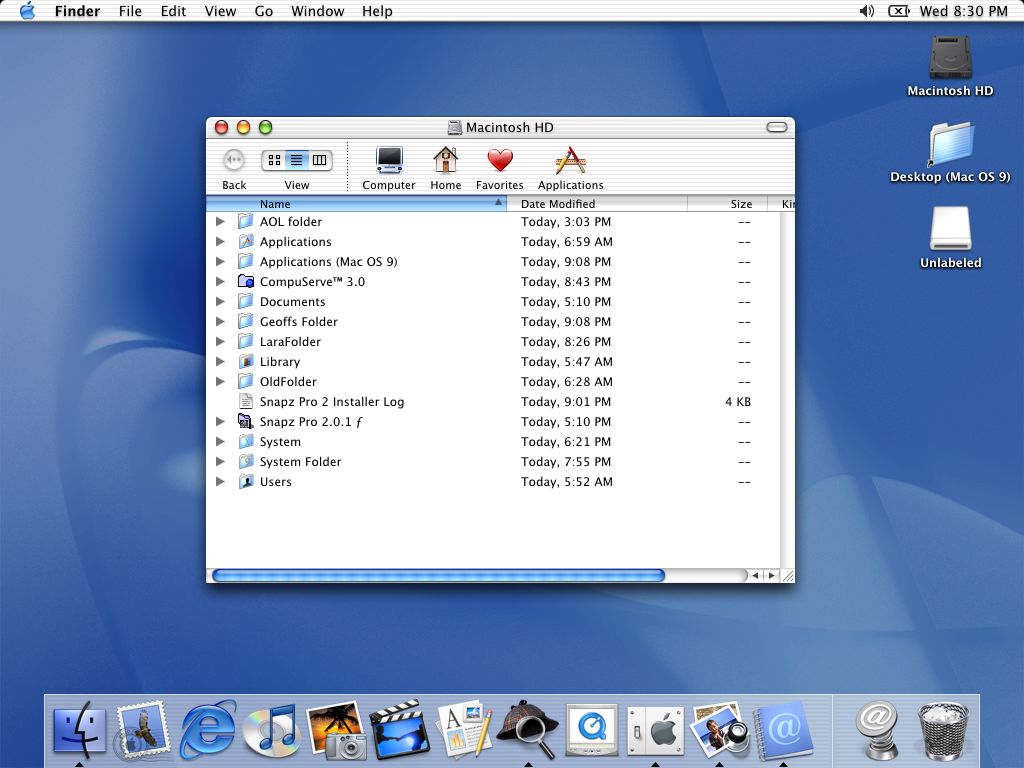
Here we have clicked on the List button (immediately above View on the toolbar) to get an alternative view of the Macintosh HD contents.
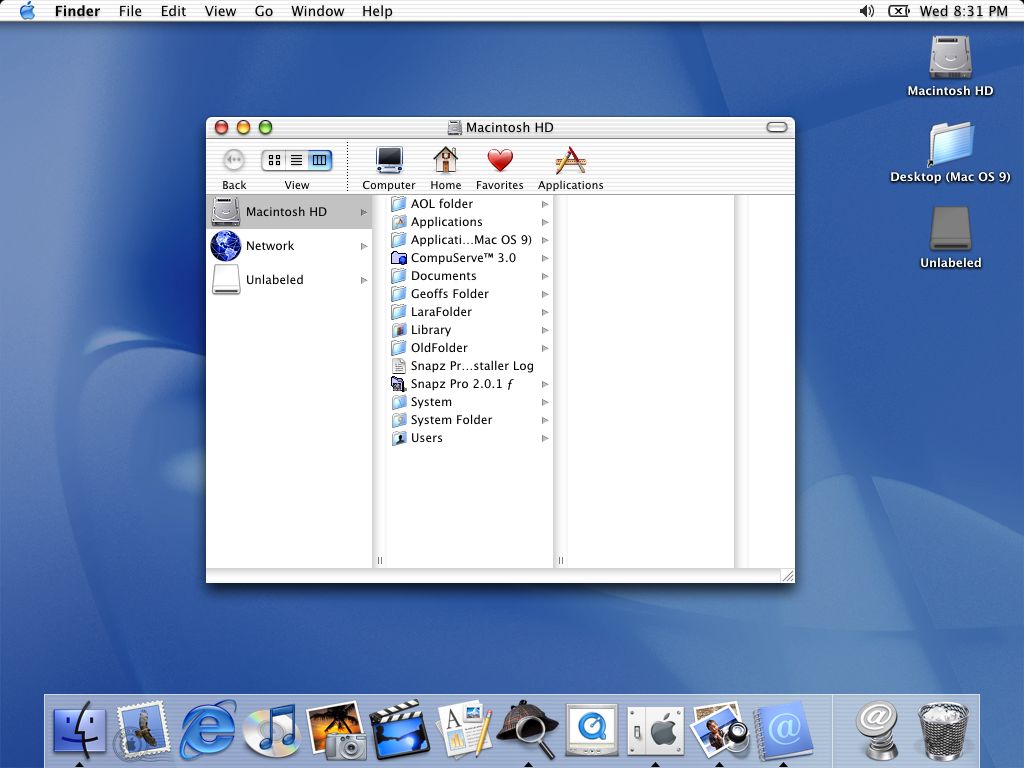
Here we have clicked on the View as Columns buttons to get a third view of the contents.
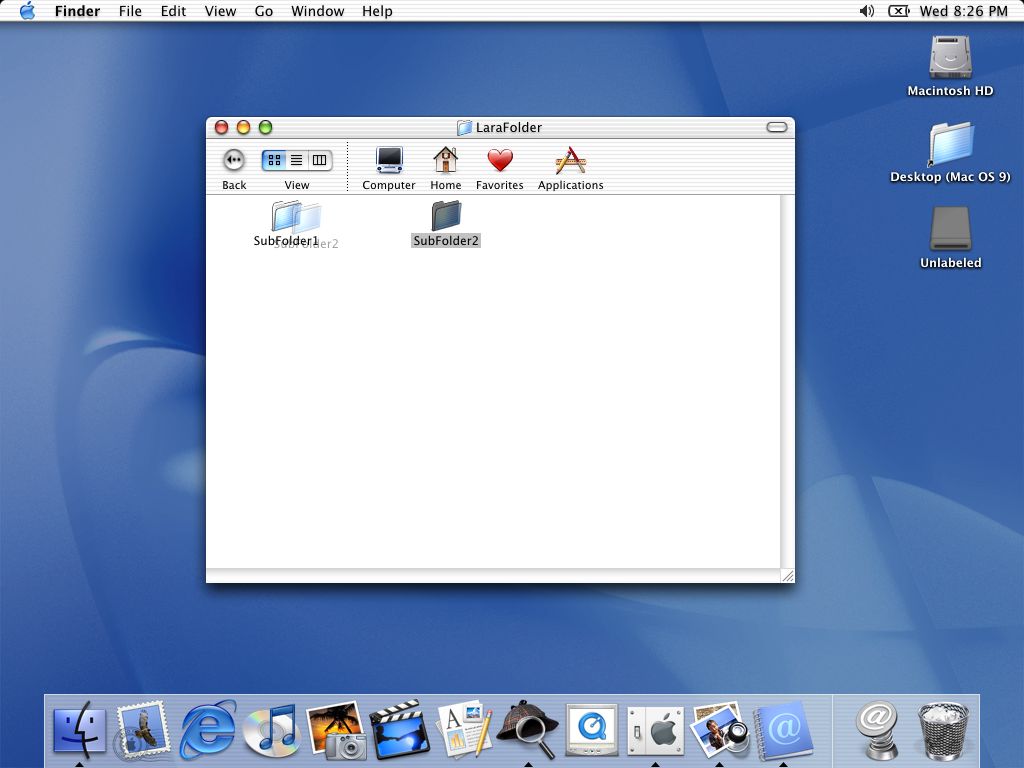
Opening up LaraFolder we created SubFolder1 the same way that we created LaraFolder, then we pressed Shift+Command+N, which is the keyboard shortcut for creating folders, and we are about to rename that new folder as "SubFolder2" (not very imaginative names)
You can move folders by clicking on them and dragging them where needed. In the image below we are dragging SubFolder2 and dropping it on, or into, SubFolder1.
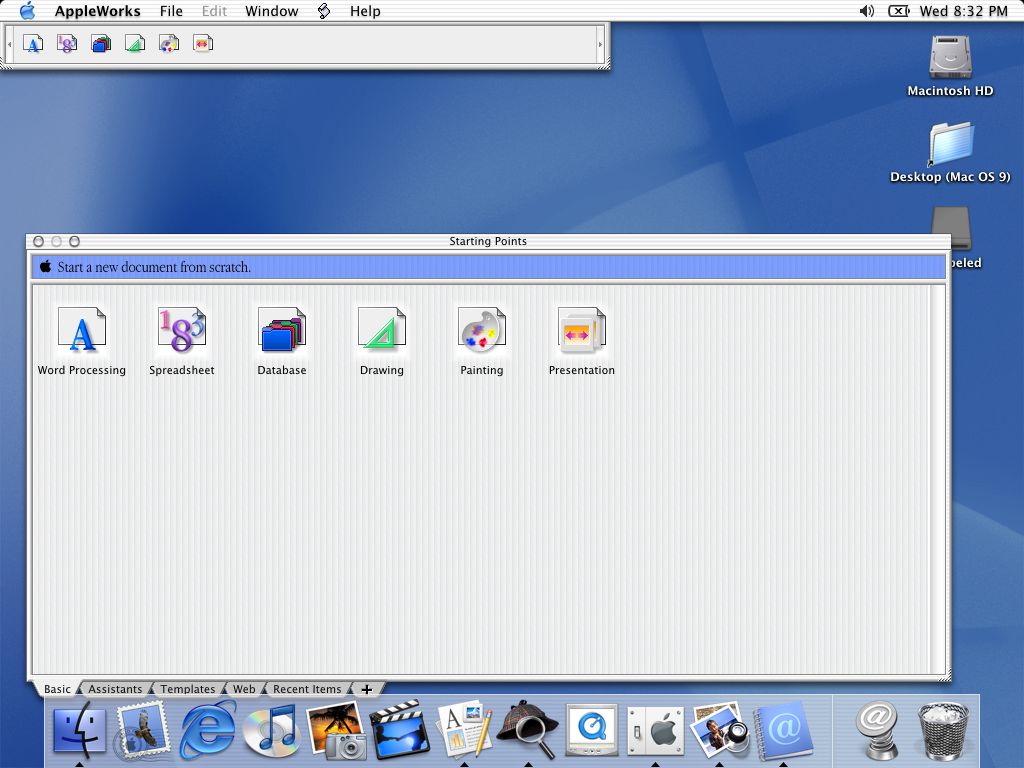
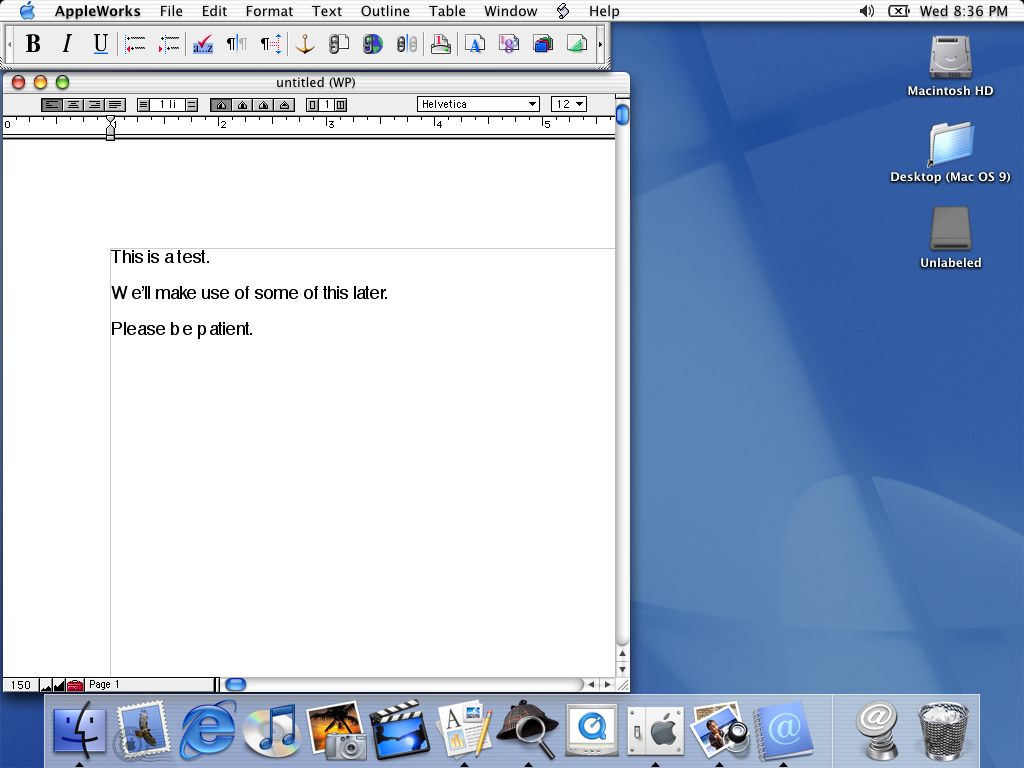
We are going to open AppleWorks by clicking on its icon on the Dock (it is the icon to the left of Sherlock, near the center of the Dock) ...
... then we clicked on Word Processing (under Starting Points) ...
... and created a small document by typing some text.
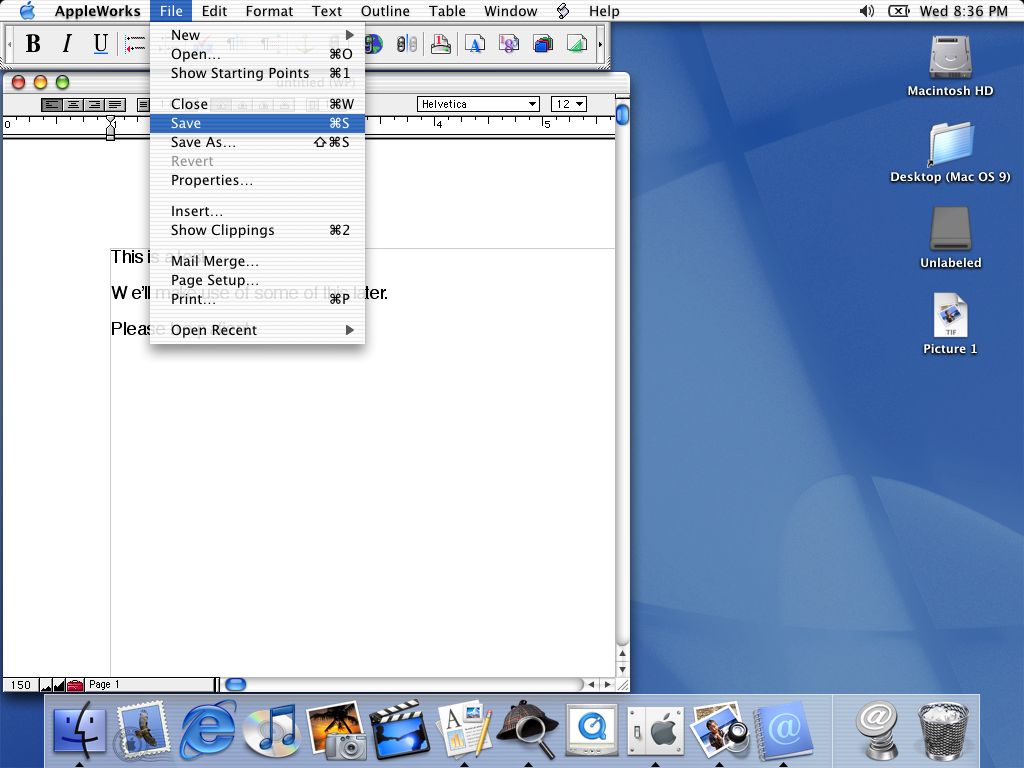
Next we went to the File menu and selected Save ...
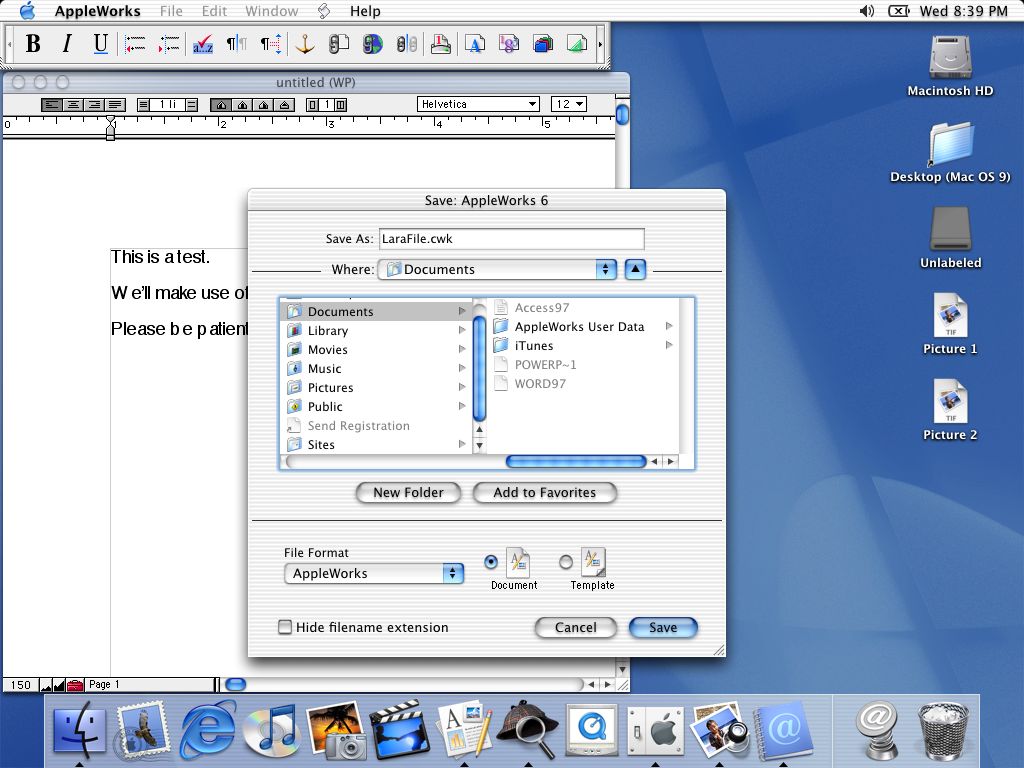
... gave the file a name (LaraFile) and selected where to save it (Documents)
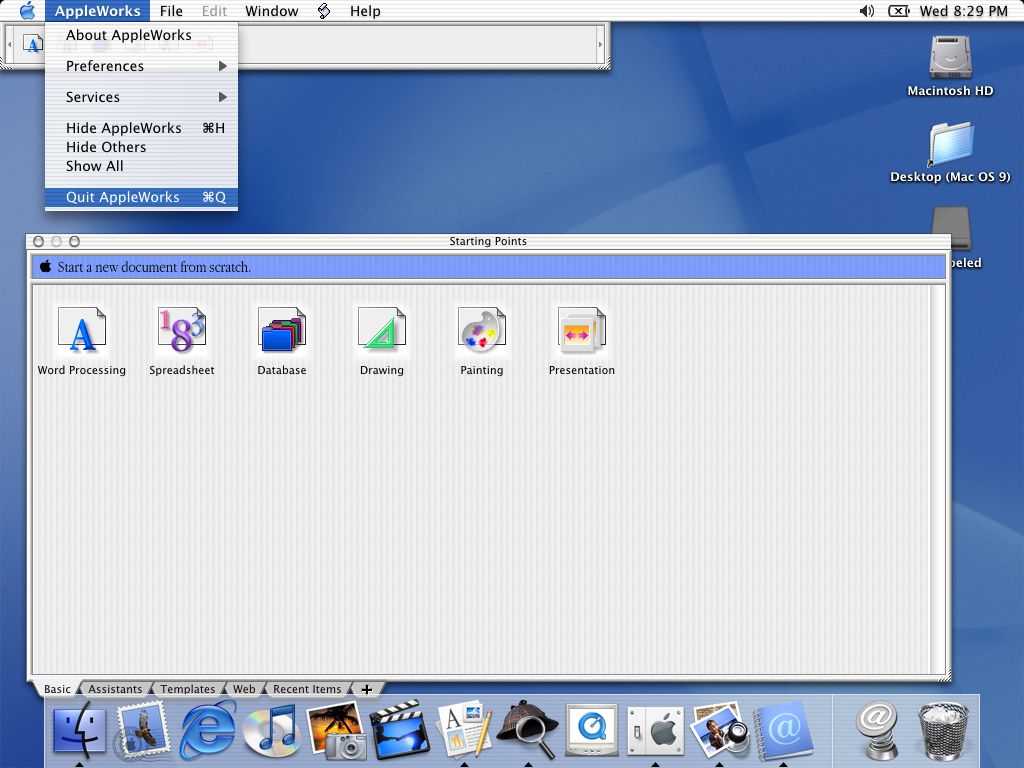
To close the application we went to the AppleWorks menu and selected Quit AppleWorks
To move the LaraFile document from the Documents folder to LaraFolder, we opened both folders, clicked on LaraFile in the Documents folder and dragged and dropped it into LaraFolder.
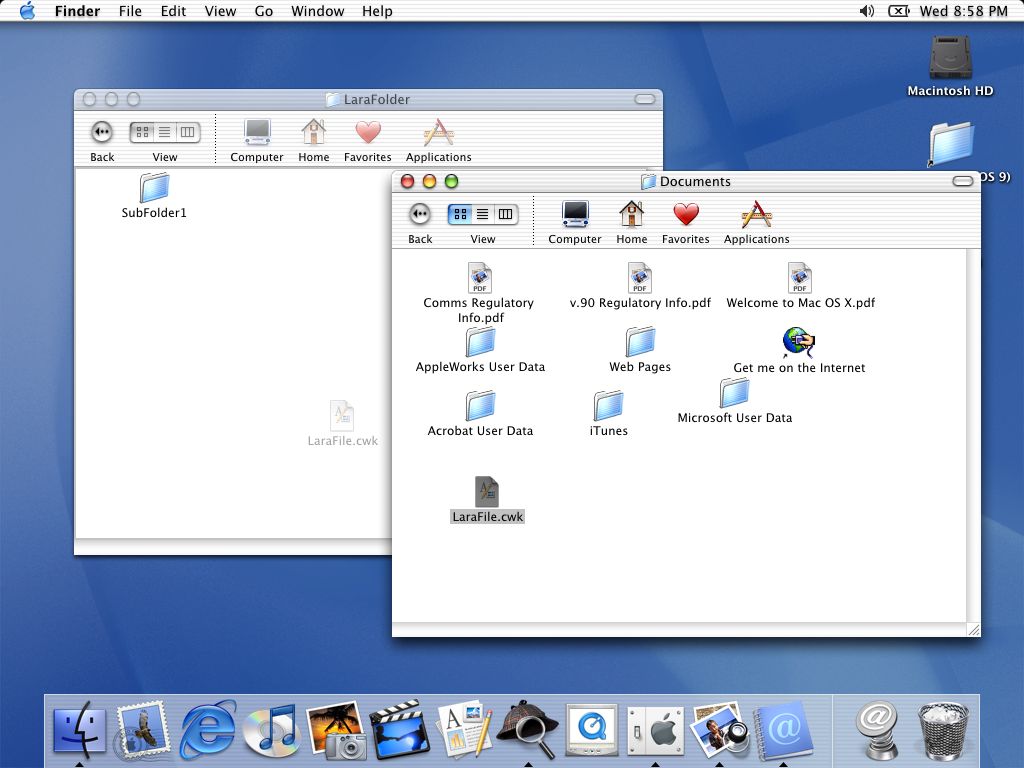
Having closed the Documents folder and having clicked on the View as List button, the image below shows LaraFile now in our folder.
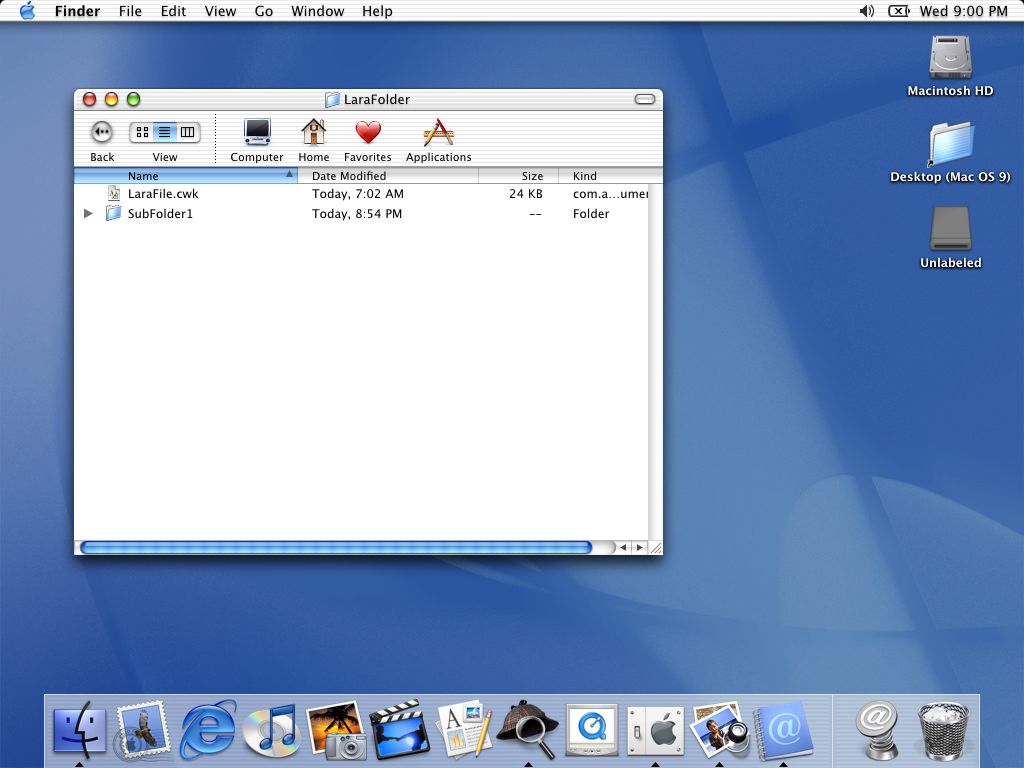
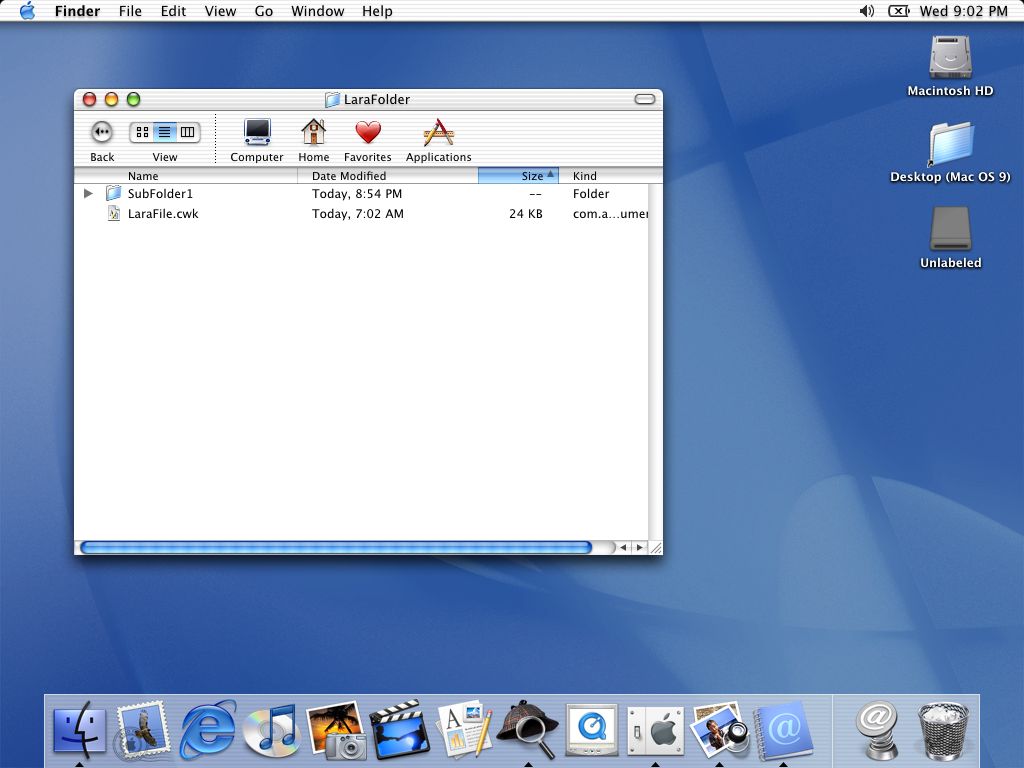
Clicking on any of the column headers in List view will resort the display order (here we have resorted based on Size)
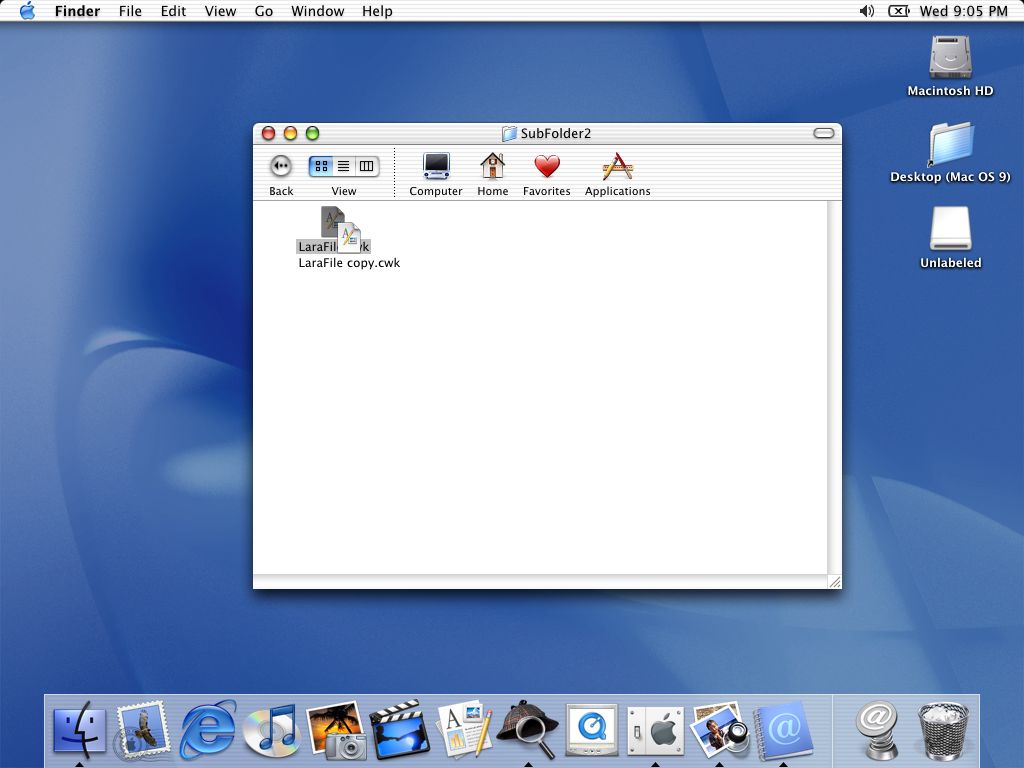
Here we have moved our file into SubFolder2, selected it, gone to the File menu and selected Duplicate ...
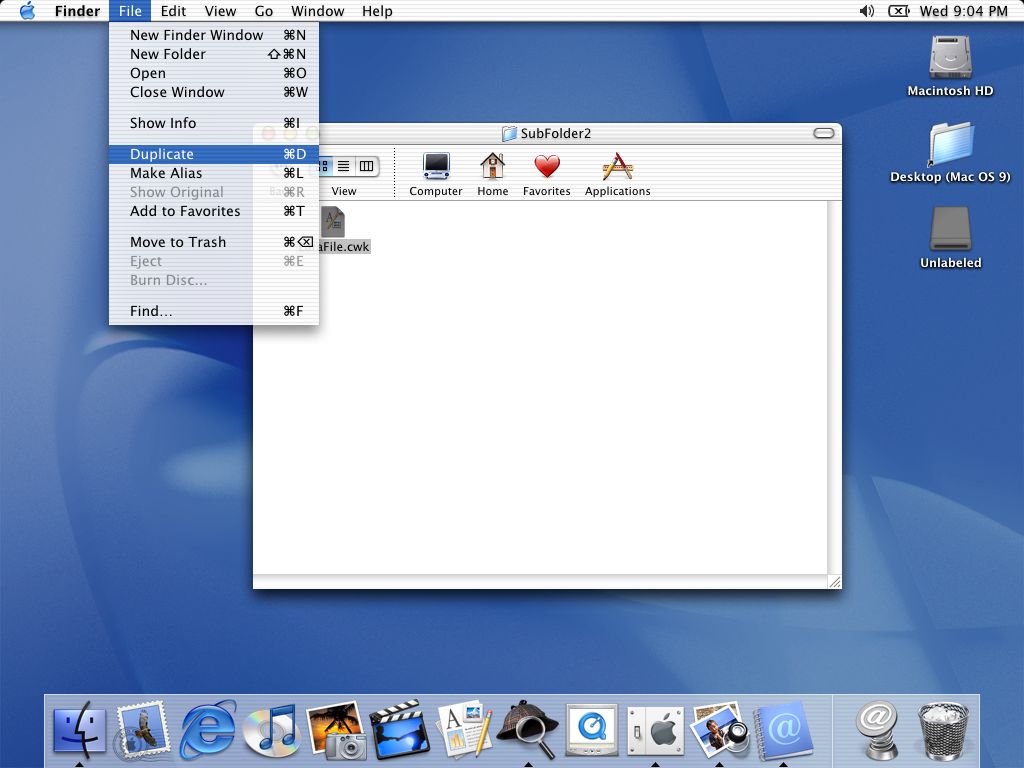
... and obtained a copy of the file (which is sitting largely over the original file in the screenshot below).
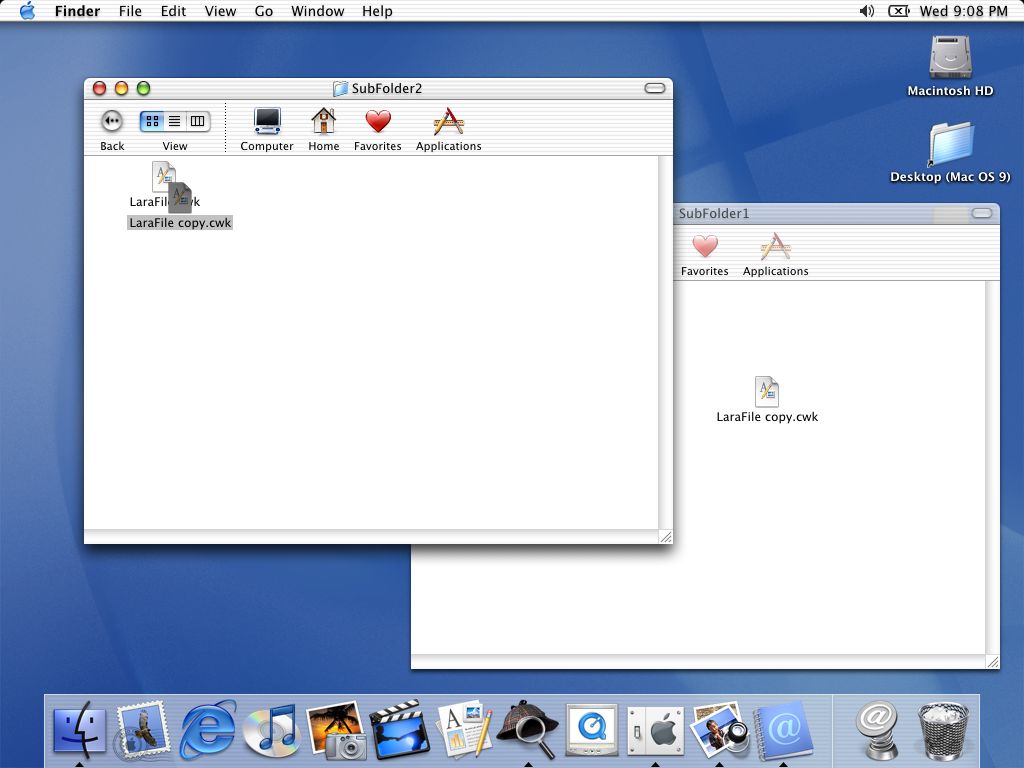
In the screenshot below we have opened SubFolder1 and, while holding down the Alt key, are dragging the copy of the file from SubFolder2 into SubFolder1 ...
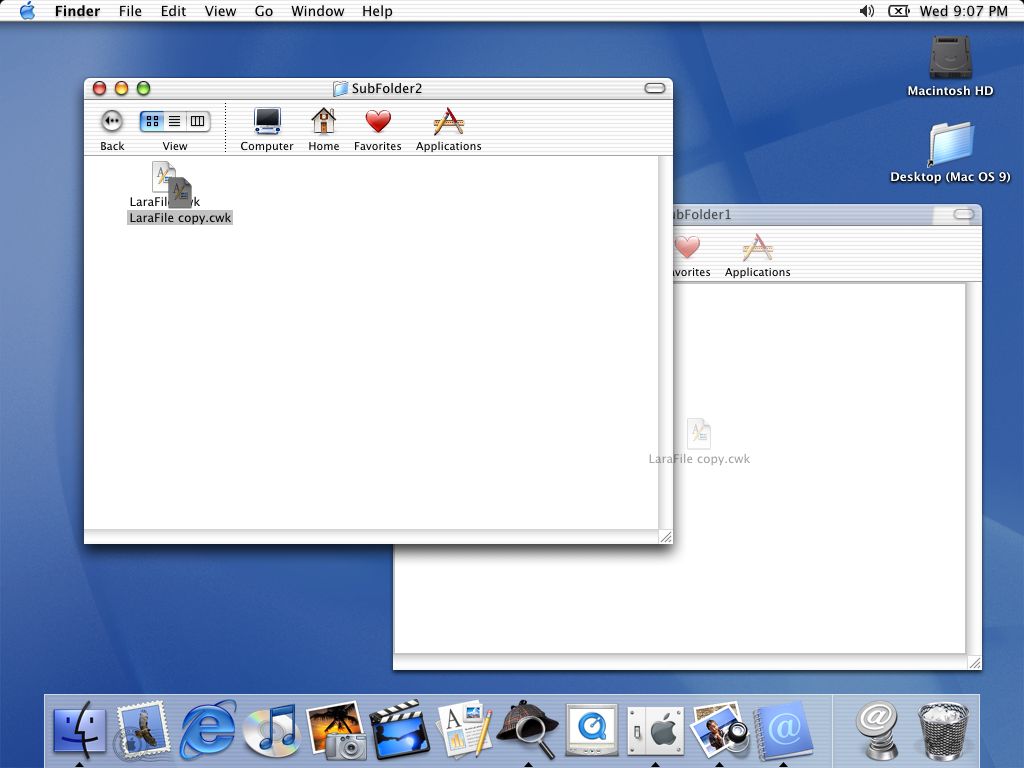
... which creates a second copy of the file. Alt+drag&drop copies a file, while drag&drop moves a file.
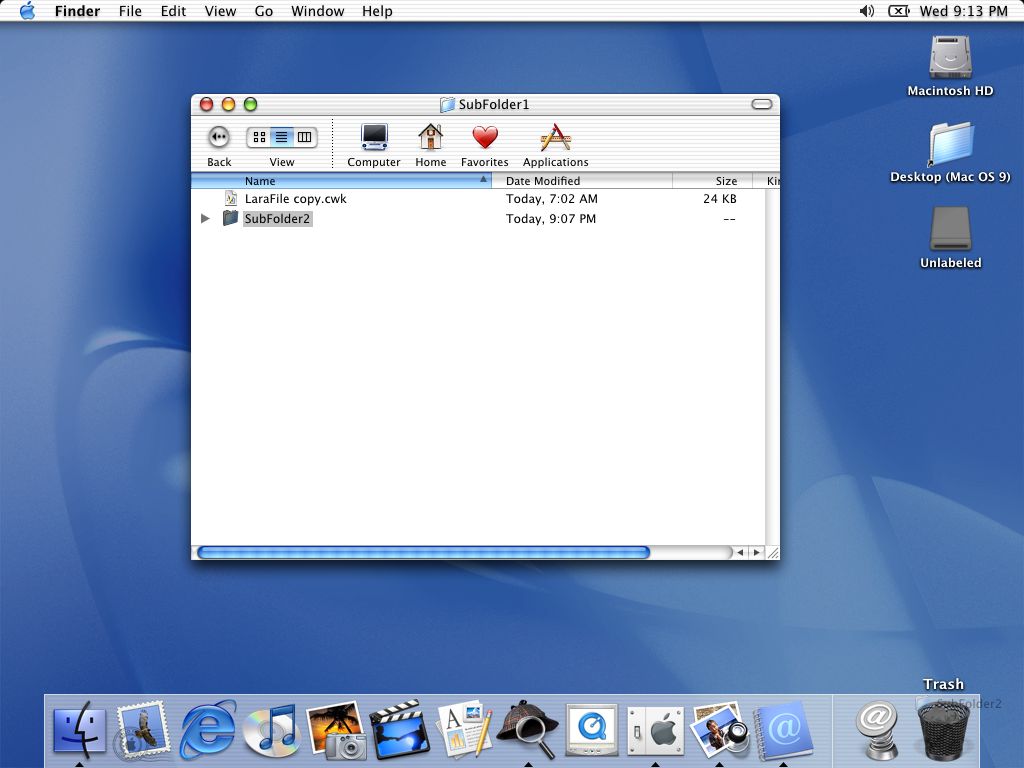
In SubFolder1 in List view, clicking on the black triangle alongside SubFolder2 lets us see the contents of that folder.

Going to the View menu and selecting Show View Options ...
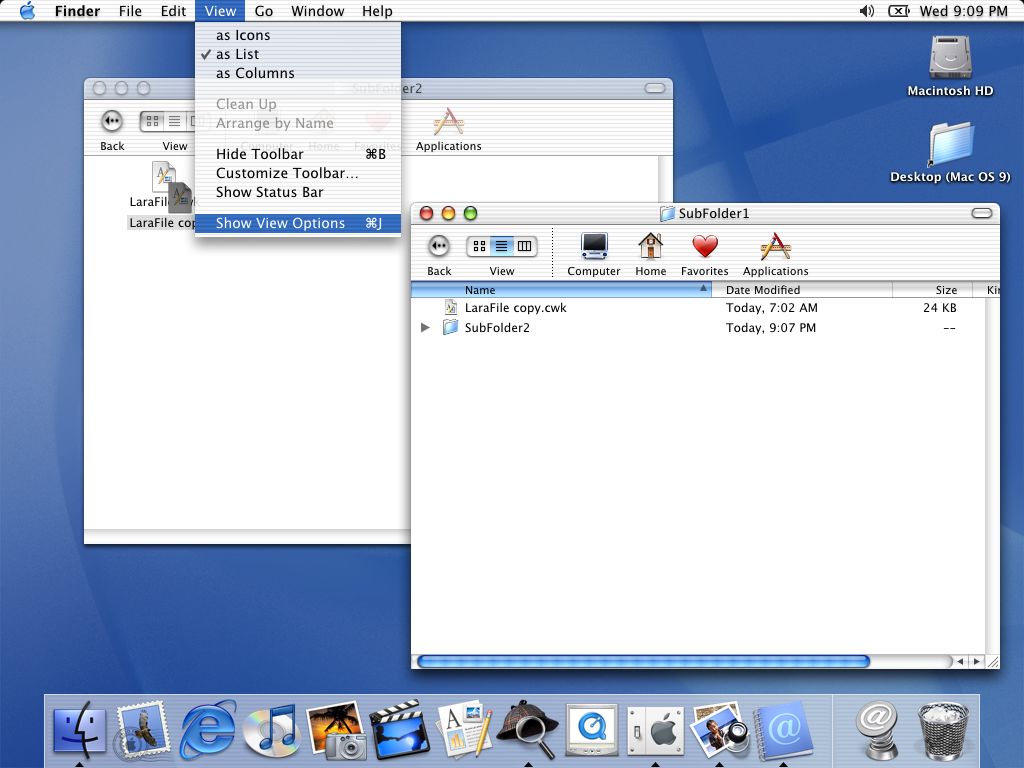
... opens a window that lets you select what columns to display, etc.

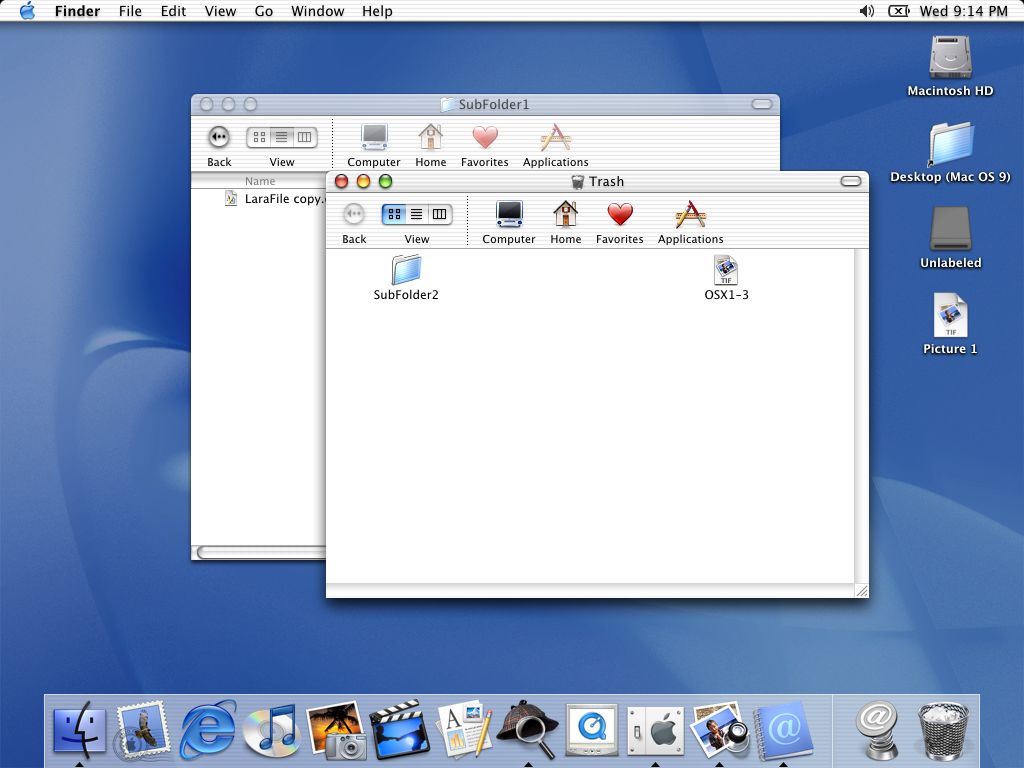
The Trash can sits in the Dock, and since we no longer need SubFolder2 and its contents, we have clicked on SubFolder2 and dragged it to Trash and dropped it on it.
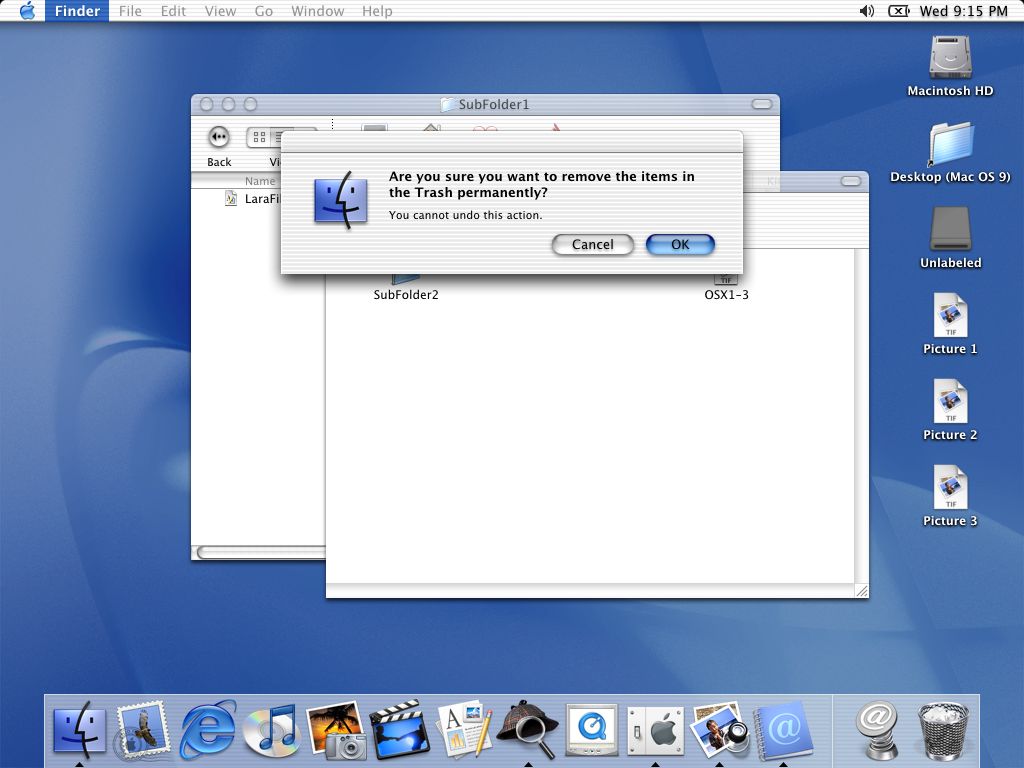
Here we have opened Trash and we can see SubFolder2 sitting in it, and gone from SubFolder1.
Opening the Finder menu gives the option to Empty Trash ...

... and you get one final chance to change your mind before the contents disappear forever.