Comments, Clearing, Charts, Printing
To add a comment to a cell, right-click on the cell, select Insert Comment
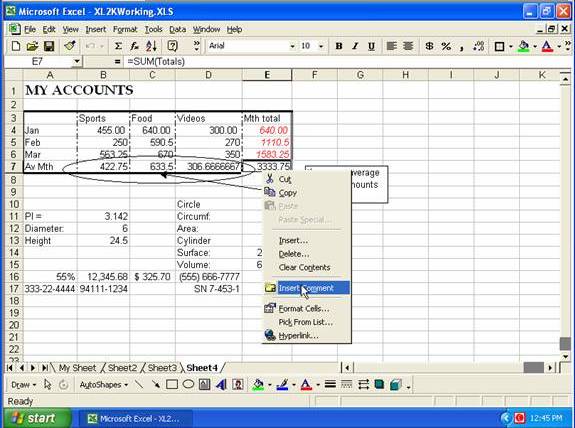
type the comment you require (you can use the up-arrow or back-arrow key to edit the name portion on the comment), then click in another cell to close the comment window.
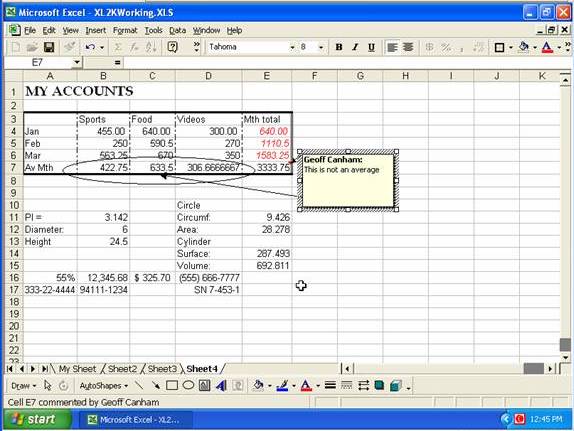
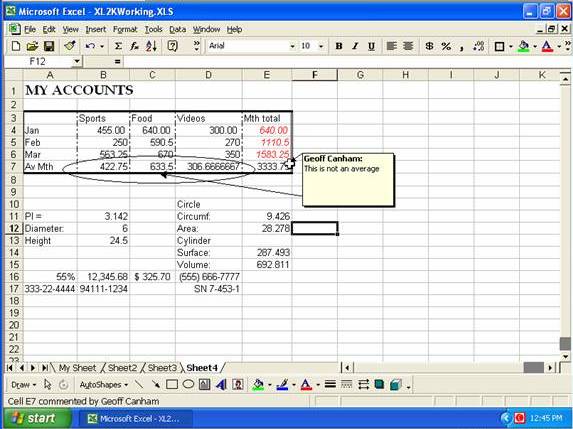
Place the mouse-pointer over the red triangle to see the comment displayed.
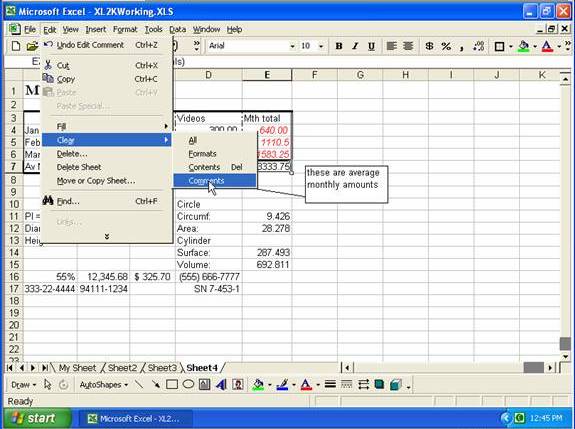
To clear comments from a cell (or range of cells), select the cell(s), go to the Edit menu, select Clear, and then Comments (or right-click, Clear Comment).
From the Edit menu you can select GoTo
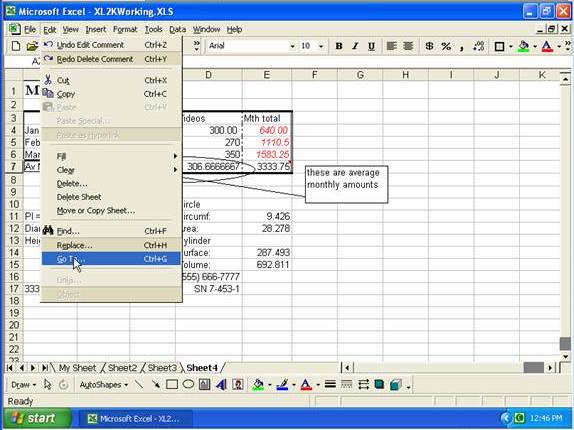
and select or type a cell or named range to go to, or you can click the Special button
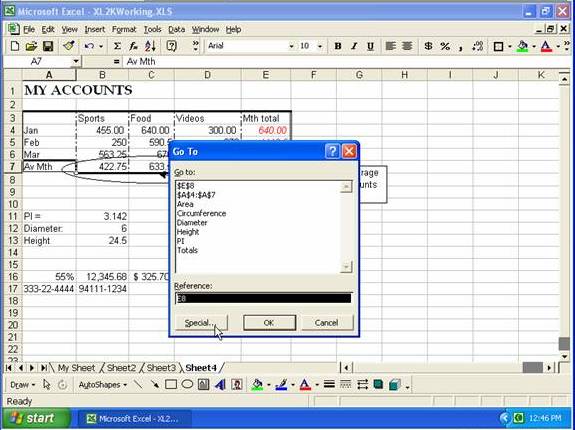
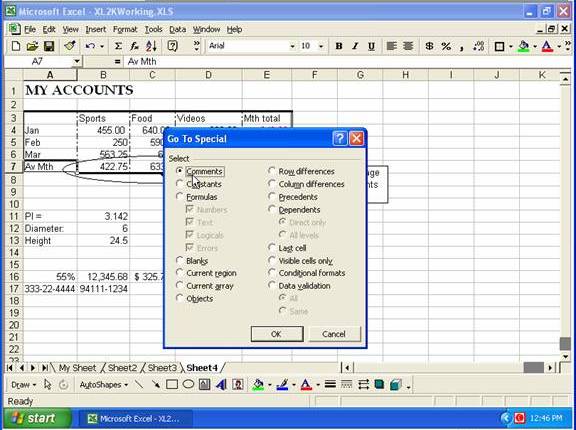
where you can select options such as Comments, then click OK.
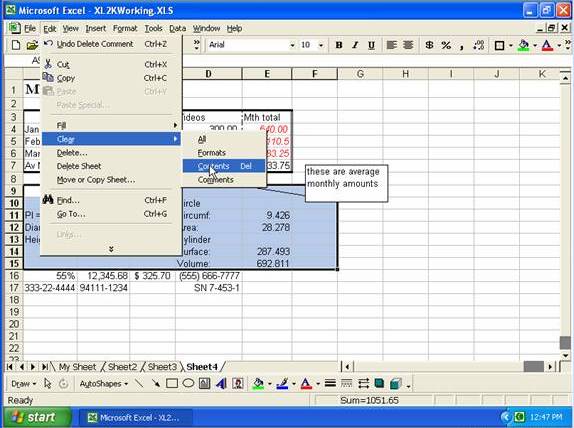
To remove comments you can go to the Edit menu, select Clear, and then Comments. To clear the contents of a range of cells, select the range, go to the Edit menu, Clear, Contents (note other delete options and that you could have just selected the cells and pressed the Delete key).
You can select a range of cells and drag and drop the range to another location.
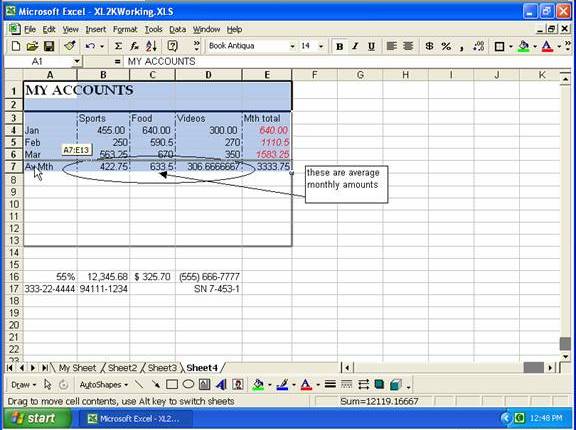
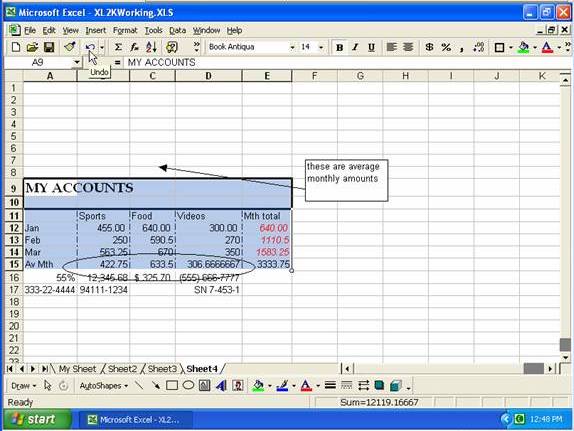
Clicking the Undo would move the range back.
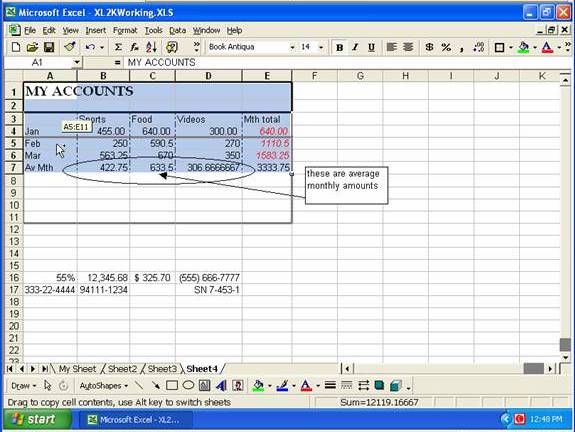
If you hold the Ctrl-key down while you drag a range of cells you will copy then, instead of moving them (note the + sign by the mouse-pointer)
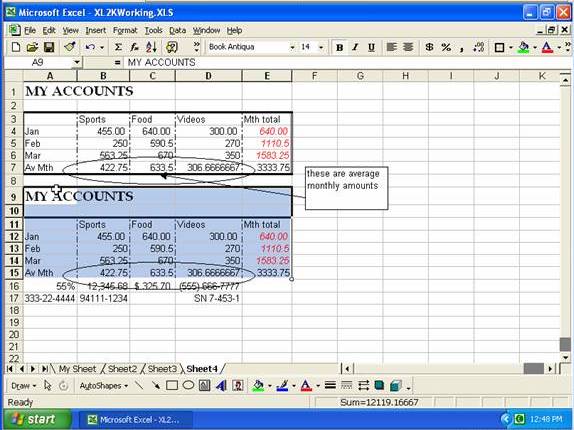
Heres the range of cells copied:
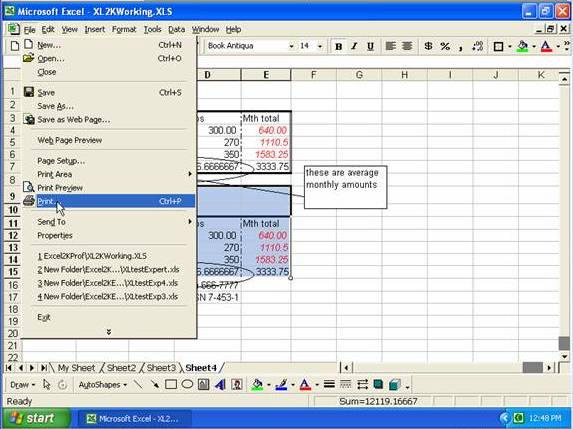
To print a range of cells, go to the File menu, select Print
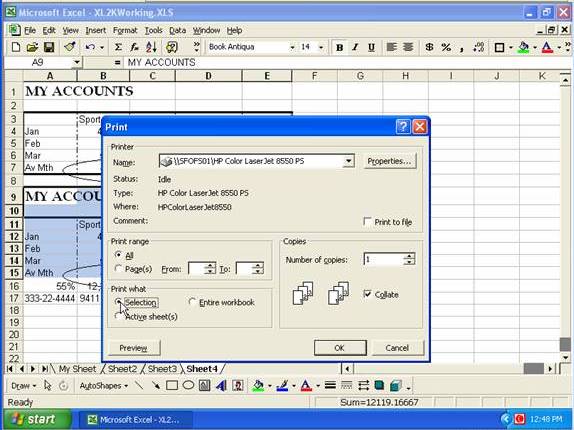
the click the radio button for Selection.
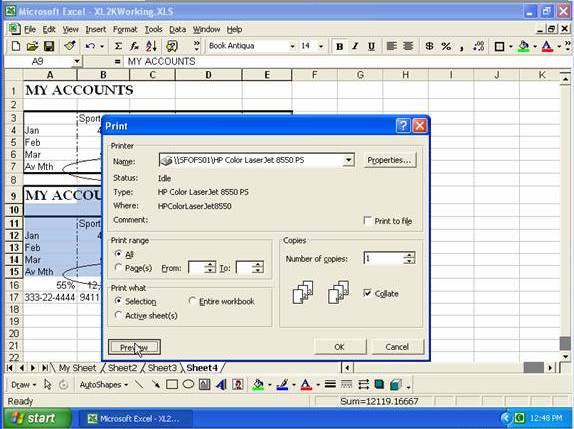
To see how the printout will look, you can click the Preview button
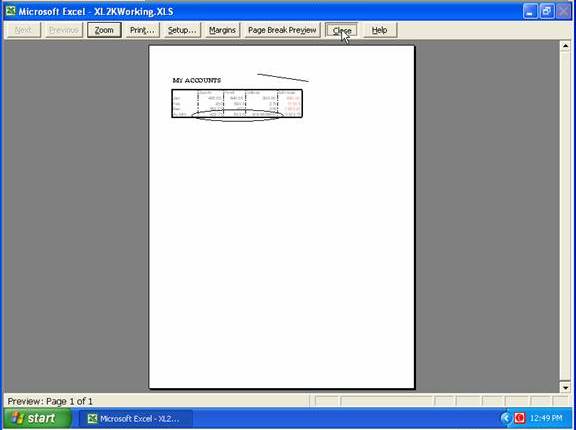
Then you can either click the Print button, or click Close
To create a visual representation of a range of data cells, select the cells then click the Chart Wizard button
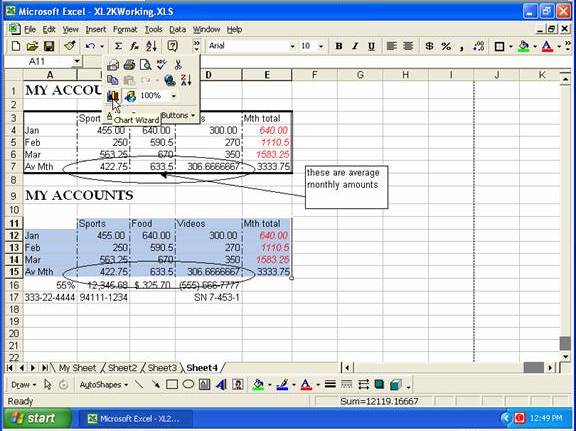
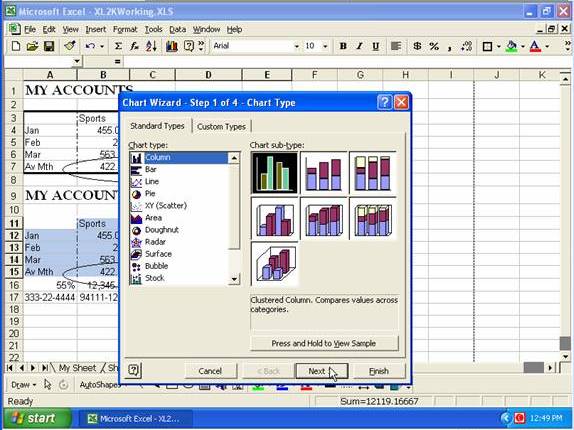
select the Chart type and Chart sub-type you want, then click Next
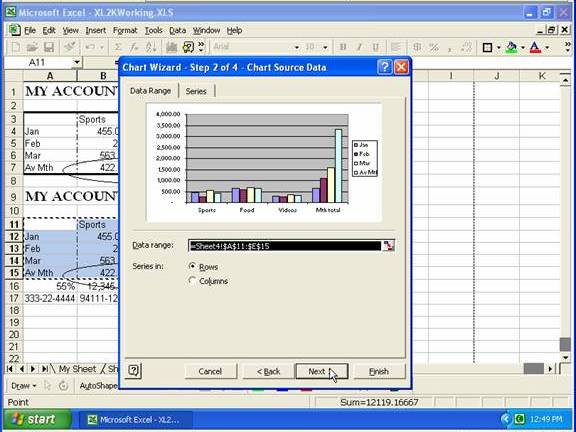
ensure the range is selected correctly, then click Next
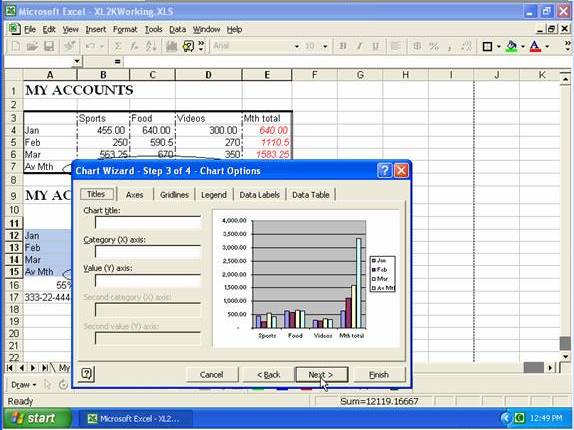
from the various pages on this step of the wizard you can set any titles you want, say if you want the legend displayed, etc., then click Next
select if you want the chart displayed on the current worksheet or on its own separate sheet, then click Finish.
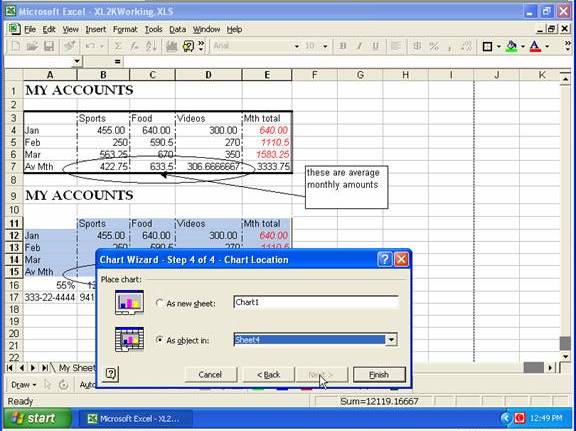
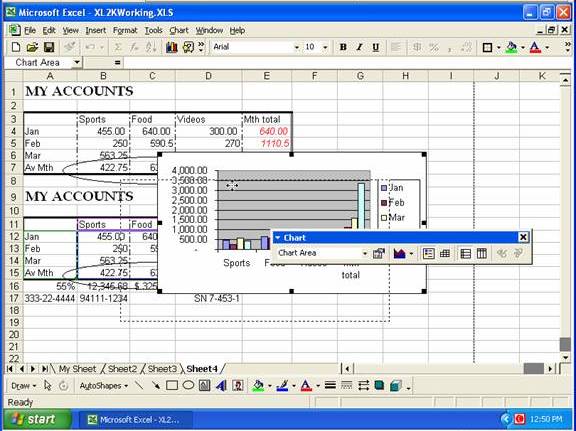
You can drag the chart to a new position on the worksheet.
With the chart selected, clicking Print Preview
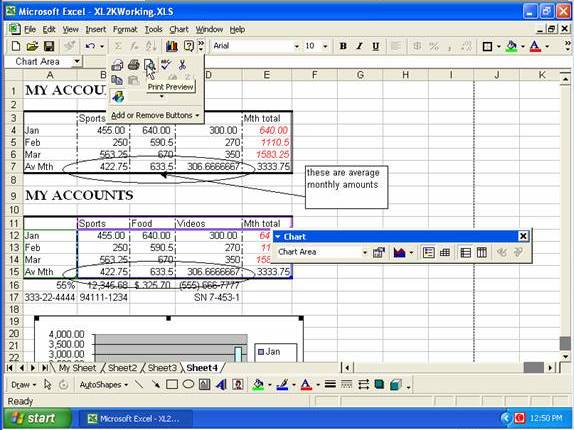
will set the chart up for printing.
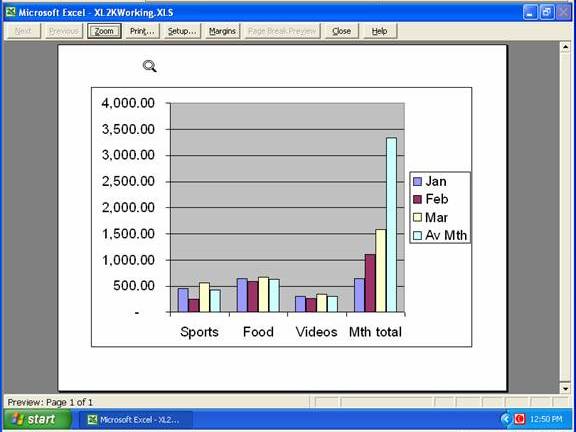
If you have a cell on the worksheet selected and click Print Preview, the worksheet along with the chart is ready for printing.
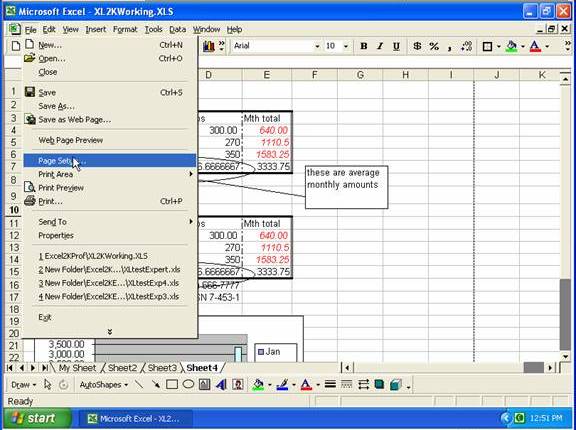
From the File menu you can select Page Setup
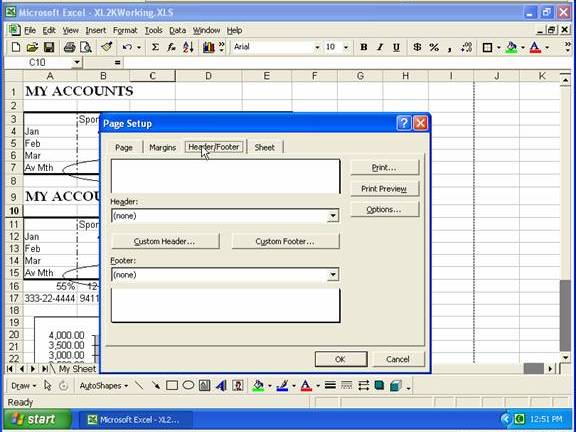
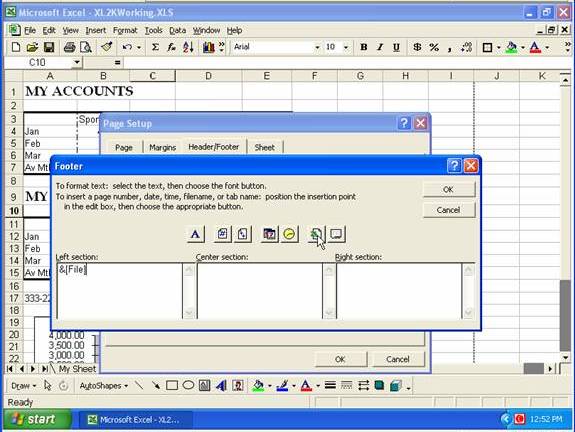
go to the Header/Footer tab
click the Custom Header button, then click the appropriate section box and type a header, then you can select the text and format it, and finally click OK, OK
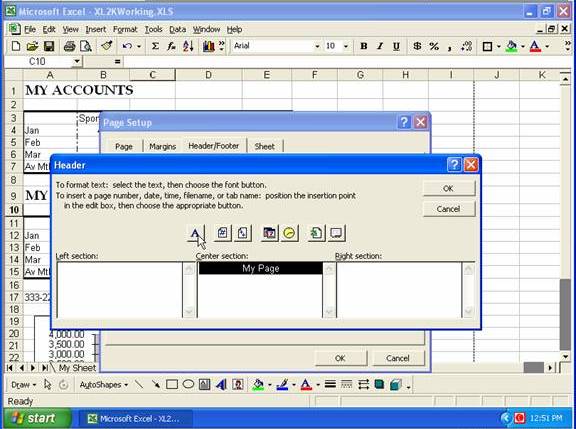
Clicking the Custom Footer button lets you set up a footer
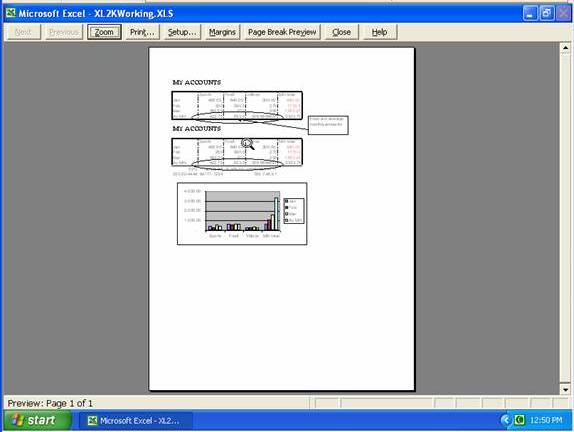
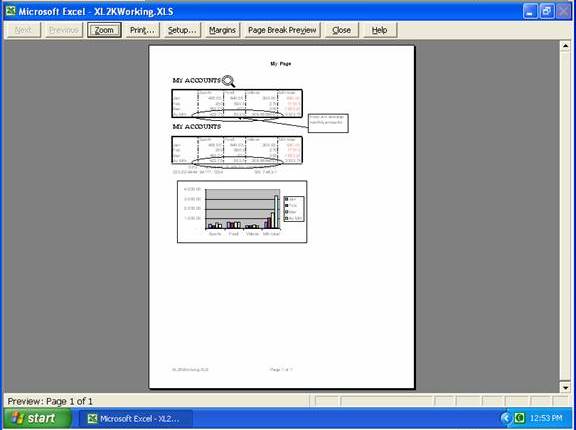
In Print Preview, if you move the mouse-pointer (magnifying glass) over a section of text and click on it, the screen will focus in on that area of the page. Click again to move back to full page view.
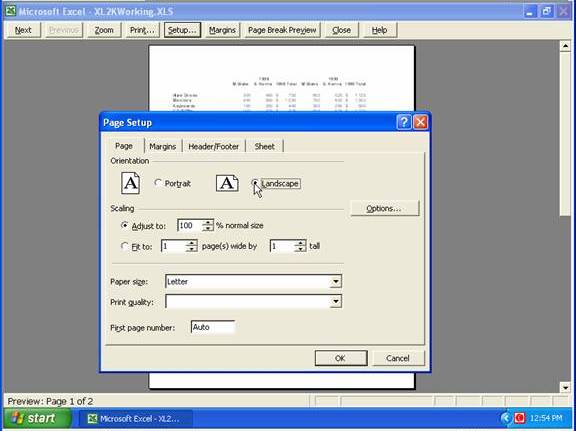
From Print Preview, if you click on Setup you get the Page Setup window. From the Page tab you could change the layout to Landscape.
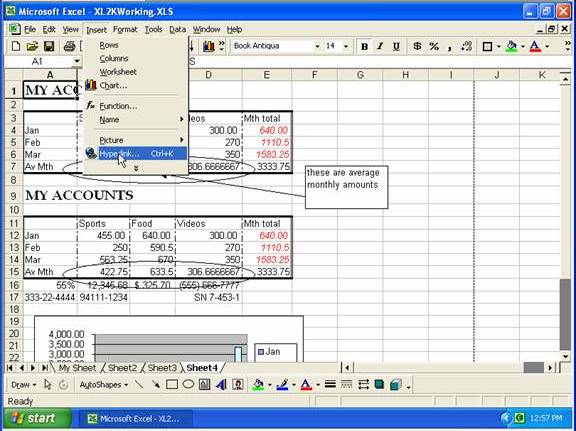
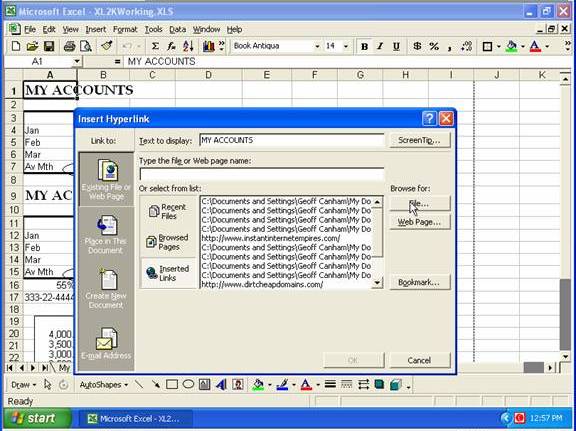
To add a hyperlink, select the cell you want to link from, then go to the Insert menu and click Hyperlink
then you might click the File button (under Browse for)
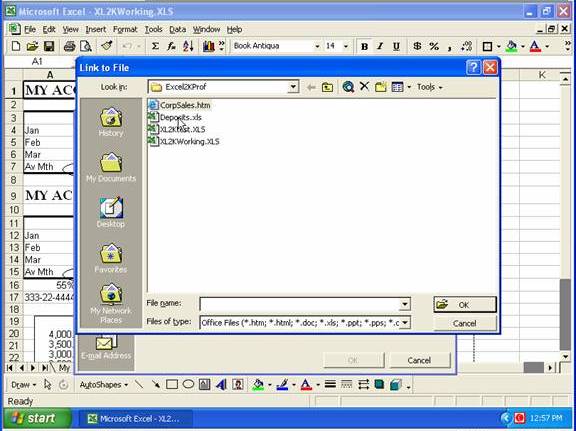
select the required file and click OK
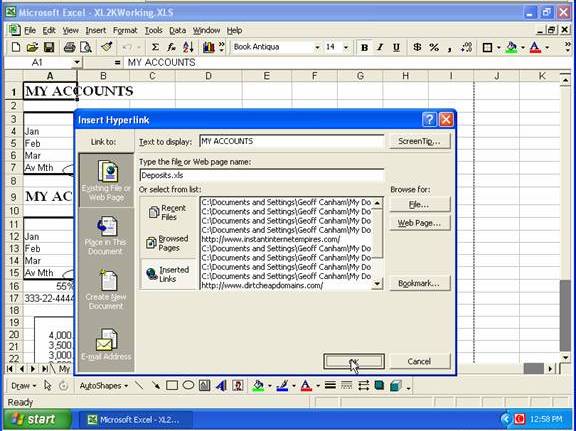
then click OK on the Insert Hyperlink window
Here we are clicking on the heading that has the hyperlink
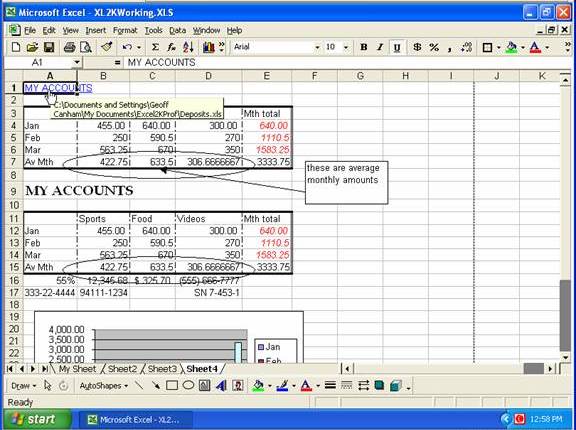
and the file that the hyperlink is pointed at opens.
Copyright www.LaraAcademy.com